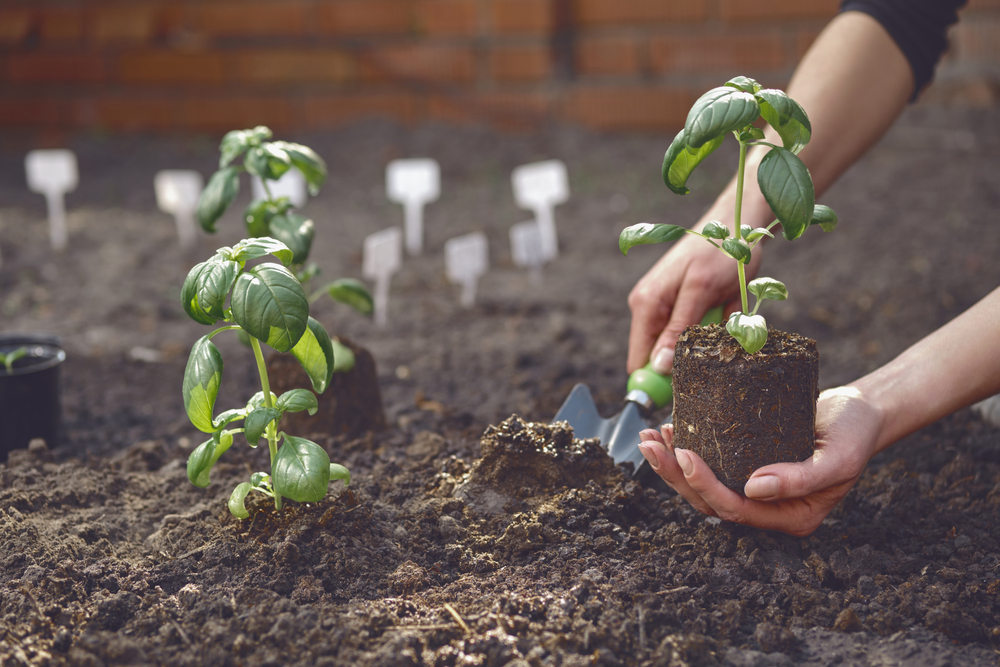
The key to a successful garden is feeding it the right ingredients. You may not realize it, but these ingredients are already lying around your house (or perhaps your trash can). Thanks to backyard composting, you can transform your food scraps and other organic waste into free soil for your garden, while also significantly reducing your household waste!
What is Backyard Composting?
Backyard composting is the process of utilizing space in one’s backyard to break down organic matter into basic nutrients, which can then be repurposed as soil enricher or mulch. The process essentially consists of mixing organic materials with air and water, which break down over time.
Backyard Composting Advantages
If your municipality does not have a composting program, then a backyard compost is a no-brainer if you want to reduce your carbon footprint. In fact, up to one third of household waste can be diverted from landfills through composting!
For those with composting programs already in place, a backyard compost bin still has its advantages:
- Reduce resources required to transport and process compost.
- Chemical-free soil enricher for your garden, with important nutrients including nitrogen, phosphorus and potassium.
- Use as a mulch to improve soil texture, allowing for easier water retention and draining.
Choosing a Compost Bin
For proper decomposition, it’s important to choose the right composting bin. There are plenty of bins to choose from at your local home & garden store, or you can build one yourself (or hire a professional to build a custom one for you).
Whatever you opt for, there are a few essential criteria to look for:
- Tight-fitting lid to keep pests out and retain moisture.
- Proper drainage.
- Room for air circulation.
What Materials to Compost
For a successful composting bin, make sure you only choose items that are meant for composting. The output of your compost will only be as good as whatever you put into it, so don’t neglect it and regularly feed it a balanced diet.
Try to ensure a mix of 50% greens and 50% browns for a balanced mix in your compost. Keep in mind that green items are heavier, so you’ll actually be adding 2-3 servings of browns for every serving of greens, depending on the weight of the particular items you’re using. You’ll know if your mix is off, because the contents will either be too wet (too many greens) or too dry (too many browns).
Green Materials
Greens are generally higher in nitrogen and are the more wet items you’ll put into your compost.
Here’s a list of common green items that are suitable for composting:
- Vegetables
- Fruits
- Coffee grounds and filters
- Tea
- Dried grass clippings
- Plant trimmings
Brown Materials
Browns are high in carbon and will have a drying effect on all the wet items you add. Here’s a list of brown composting items to put into your compost bin:
- Dry leaves
- Woodchips (untreated)
- Sawdust
- Egg shells
- Hair/fur
- Paper
- Paper towels
- Dryer lint (from cotton clothing)
For year-round browns, save all of your leaves from raking in the fall and use these as your browns when adding greens throughout the year.
What Materials NOT to Compost
These items seem like they’re suitable for composting, but you should actually avoid placing them in your bin, particularly to avoid attracting animals:
- Meat
- Fish
- Eggs
- Dairy
- Oily food/grease
- Bread
- Rice
- Pasta
- Bones
- Pet waste or litter
- Weeds
- Diseased plants
- Anything with pesticides
Backyard Composting Steps
1. Choose a Location
Place your bin in a partially shaded area of your backyard with at least a foot of space around it on all sides. This spot should have good drainage (i.e. in soil) and be accessible all year long.
2. Set Up Composting Bin
Turn the soil and place your bin at least a few inches below surface level. Place mesh wiring at the bottom to allow drainage but keep animals out. Next, place small branches at the bottom to allow air to enter and water to drain.
3. Add Organic Matter
Alternate adding layers of 50% greens and 50% browns (by weight). Finish with a layer of garden soil to introduce microorganisms that will help with decomposition.
4. Turn Pile Every 1-2 Weeks
This will aerate the pile and redistribute heat, ensuring that it decomposes properly. A shovel or pitchfork will work best.
5. Add More Organic Matter
Dig a space to make room for the new greens that you’re adding, and then finish with a layer of browns.
6. Repeat Steps 4 & 5
Continue adding to and aerating your compost pile regularly.
When is the Compost Ready?
Composting can take anywhere from six months to two years, depending on the quality of ingredients and how well you maintain it. Finished compost should be dark and crumbly, much like regular soil or fertilizer. If you can still identify the items that are in the compost, then you’ll need to wait a little bit longer. Another sign to look out for is heat; if the pile is still warm, then the composting process is still happening.
Composting Tips
- Think of your compost like a pet, which needs regular meals and care.
- Ensure the pile has an appropriate amount of moisture; approximately that of a squeezed out sponge.
- Use a tight-fitting lid to retain moisture and keep pests out.
- If the pile is too dry, add more greens and/or water.
- Smaller materials break down faster, so chop larger items to speed up the process.
- Keep your fall leaves for year-round browns to add alongside your greens.
- The pile should have a pleasant smell; otherwise, there is likely a lack of oxygen or too much moisture.
Composting in your backyard really is a win for everyone: your garden will flourish with all of the added nutrients, the planet will benefit from less trash in landfills, and you’ll save money on garden soil.
Setting up a backyard composting system should be fairly simple to set up for experienced gardeners, but if you need a little help then not to worry — search for a gardening professional from HomeStars today!


