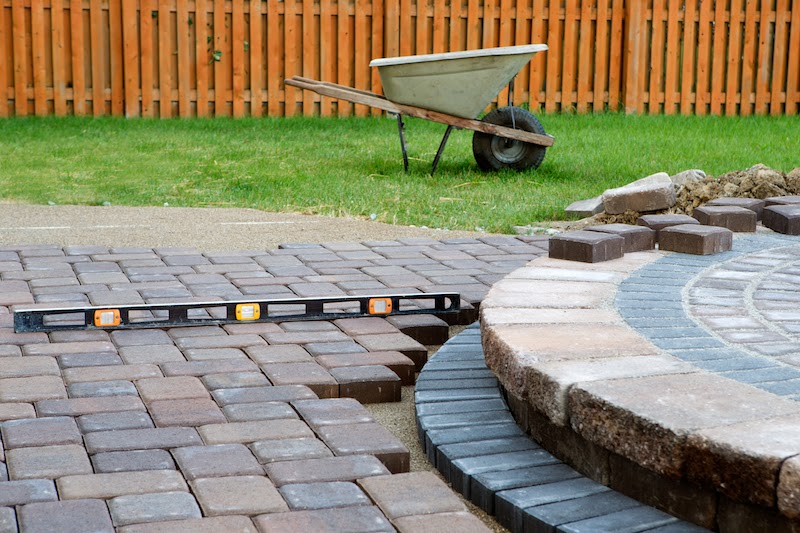
Patios are a great addition to any home and provide a space to entertain, cook, or relax. Patios are very durable with the ability to withstand all types of weather, are relatively easy to maintain, and are fairly simple to install. If you’re thinking about adding a patio to your home, here are the steps of having a patio built.
Once your patio design is planned, your location is picked and you have hired a pro it’s time to start constructing. At first glance, a patio may look like a bunch of stones thrown on top of your lawn, but there is much more to them to ensure they perform for years to come.
Steps to Having a Patio Built
Digging

The first step to constructing your patio is to dig. Depending on whether or not you are having your patio raised or flushed with the ground, the hole will have to be deep enough to allow for 6 inches of concrete, paver stones, and 1 inch of sand.
While digging, keep the angle of the slope in mind. The slope is always away from your home, and as a rule of thumb, it should drop 1 inch every 4 feet. If possible, a natural slope may also be used.
If you have requested any electrical abilities on the patio, the electrical cables will be buried in the dirt at this step. Doing so will hide the cables with the finished product, taking away any eyesores or hazards.
Once the hole is deep enough and the cables are buried, the area will be tamped (flattened) with a plate compactor to ensure the dirt is packed in, levelled and sloping correctly.
Foundation
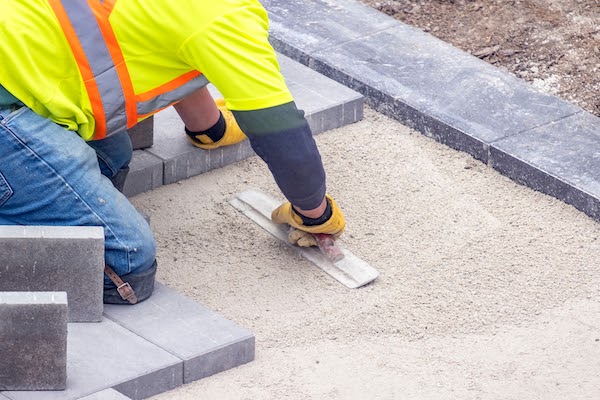
Now that the area is prepped the foundation can be installed. As mentioned above, there will be a 6 inch layer of concrete and a 1 inch layer of sand making up the foundation. If you are planning on placing larger, heavier objects, such as a hot tub, then the foundation will be made thicker to account for the extra weight.
The concrete will be added a couple of inches at a time and packed with a plate compactor to keep it smooth, levelled, and sloped correctly. Once the appropriate amount of concrete is filled the layer of sand will be added. The sand will be measured up to 1 inch and will be flattened and levelled for the stones to sit on.
Installing Pavers
Now it’s time to install the paver stones. Depending on the design and material that you choose, the installation process may vary slightly.
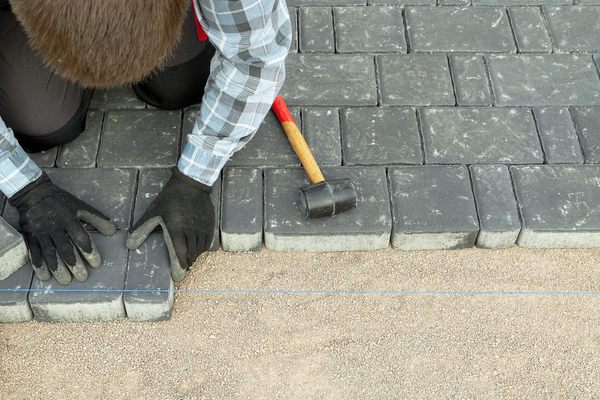
Working from one side to another, usually starting at either a wall or straight edge, the paver stones are set down individually. String or other straight edges and a level will be used along the way to ensure that the stones are being installed straight and levelled.
Packing Sand
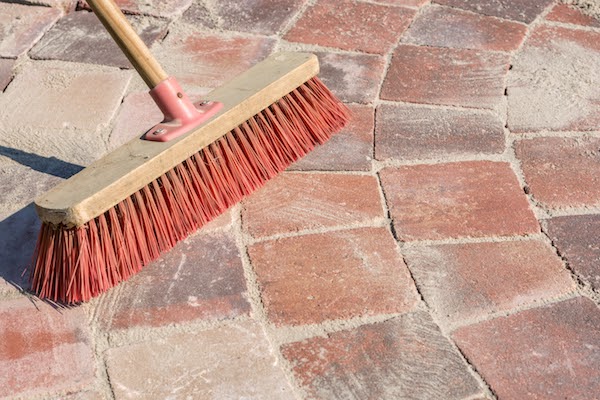
The final step to installing your patio is packing the jointing sand. The sand acts as a bond between the pavers to help secure the pieces. First, the sand will be poured and brushed in order to fill all the gaps between the pavers. The sand will be packed down and the process will be repeated until there is enough sand in the cracks. Excess sand will be blown off to reveal your finished patio!
The steps are simple but very important in constructing your patio to ensure it’s built to last. With the summer months ahead, get connected with a pro today to start planning your new patio today! You’ll enjoy it for years to come.
