As a blogger with a passion for interior design, I don’t just write about home improvement, I live it. My husband and I are enthusiastic DIY types who have renovated and made improvements to more than a dozen homes — which adds up to hundreds of walls which required interior painting! For most of our renovation projects, it made sense for us to paint the walls, and for a few, it was wise to leave the job to professionals.
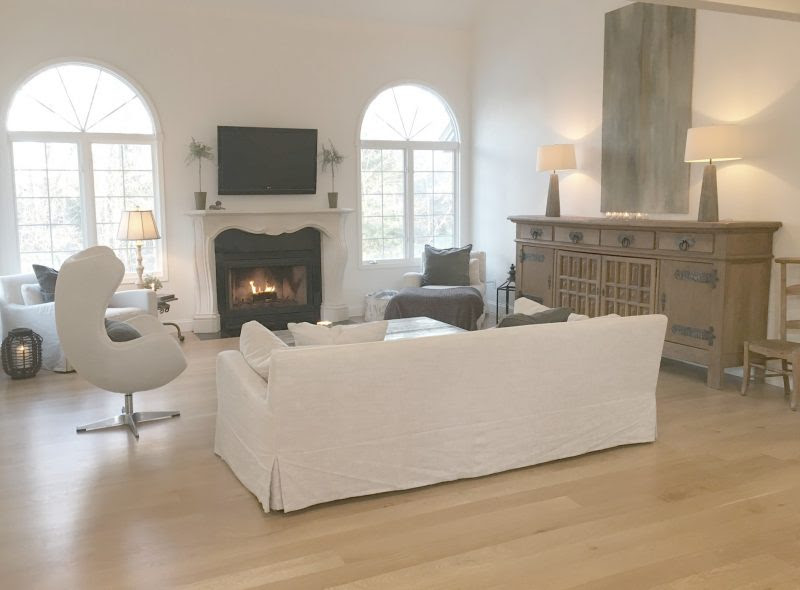
Photo: Hello Lovely Studio
Wondering whether to tackle painting your walls yourselves or to hire a pro? Consider your answers to the following to determine the right option:
Time is Money. Will you have enough time to do it yourself? Hiring a professional painter will save you time, labor, and headache.
Let’s Avoid the Emerg…Oui? Painting walls can be quite a physical workout…do you have physical limitations, vertigo, shaky hands, or issues impacting your safety and health? Allowing someone else to climb that ladder can be money well spent, and your joints will thank you.
Scaffolding Woes. Do you have high ceilings or a whole house of rooms which require paint? It is likely a job to leave to a team of professionals with the proper equipment and expertise. When we built our French Country home, we left all of the interior painting to a team of professionals who used high-tech sprayers and knocked out the job in no time.
Money Talks. Have a budget to pay for the work to be done by professionals? Lucky you! Go pro and consult this checklist which may come in handy.
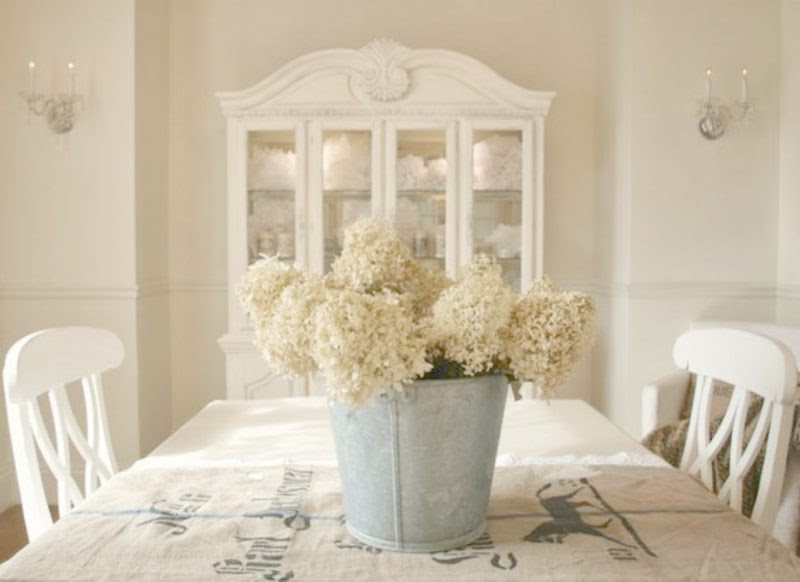
Photo: Hello Lovely Studio
If the painting will be DIY for you, read on for smart tips to keep the stress low and the wow factor high.
- Remove furniture, lamps, and objects from the room or move them away from walls. Remove outlet and light switch plates to save time and effort taping off those areas.
- Cover the floor with a drop cloth.
- Prep work is important when you want to execute it like the pros. Repair any wall damage, cracks, and holes with joint compound or spackle. Allow to dry completely, then sand and smooth. Remove any dust by wiping down and vacuuming wall surfaces.
- You will most likely need to mask off with painter’s tape those areas you don’t want painted (trim, light fixtures, etc). Here are some specific tips for how to properly tape like a pro.
- Not sure if you should mask or cut in? This short discussion may help you decide. To cut in, use an angled 2 1/2″ or 3″ quality paintbrush, using light pressure and smooth strokes. Move around the room, along the edges, as fast as you feel comfortable, keeping a wet edge. First cut out the wall – ceiling, then corners, then around outlets, then windows, then vents, and then the wall – floor. When the room is cut in entirely, you’re ready to roll.
- For rolling, start at the top of the wall and work your way down. Load your roller with paint and roll it on the wall in a W pattern. Then, fill in the W area with paint. Work quickly and keep a wet edge moving along the wall. If you notice you missed a spot, let it dry, keep moving, and go back later for touch-ups.
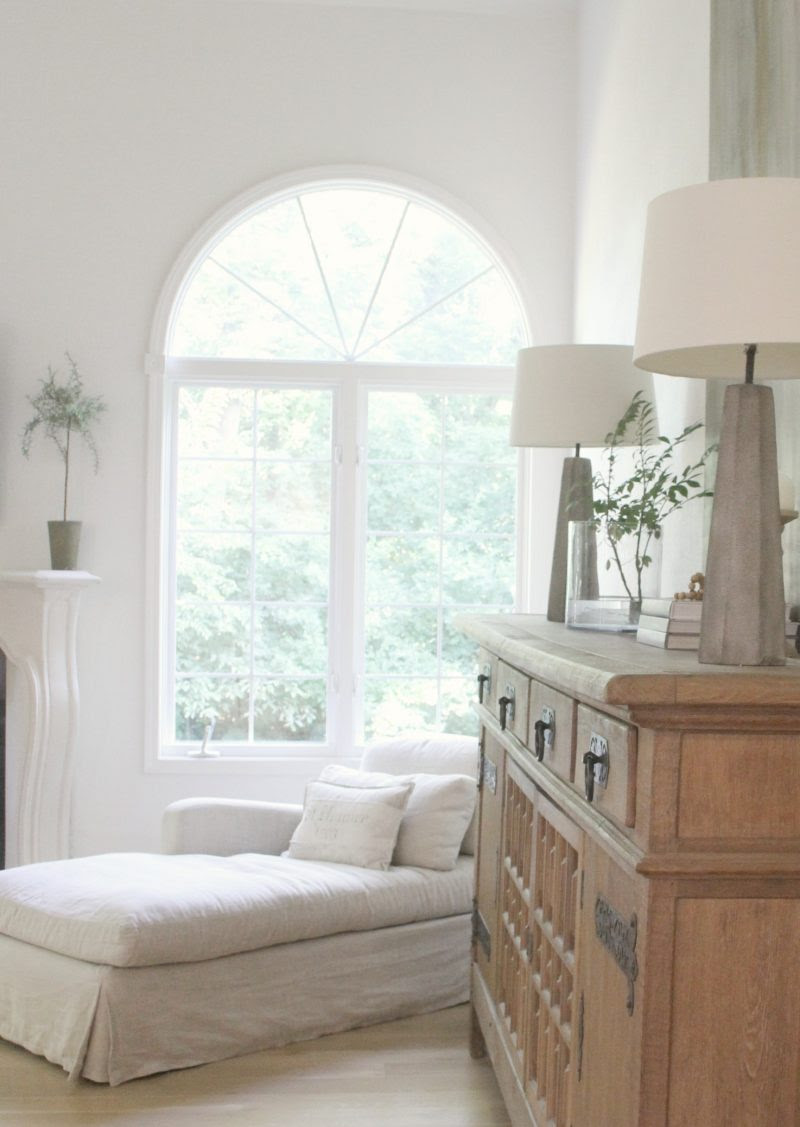
Photo: Hello Lovely Studio
If you are feeling extra geeky and game for a few BONUS painting hacks, check out the brilliant ones below and more in this article.
This is Tray Smart. (See what I did there? Ha!) Line your paint tray with a disposable insert, aluminum foil, or a plastic bag for easier clean-up and less paint down the sink drain.
Glove Love. Consider wearing disposable gloves to avoid messy hands and to store paint brushes that you don’t want to dry out. And don’t forget a mask…your lungs will thank you.
Not Just for Laundry. For easier paint brush cleanup, add fabric softener to the water you soak brushes in to prevent dryness and hardening of the bristles.
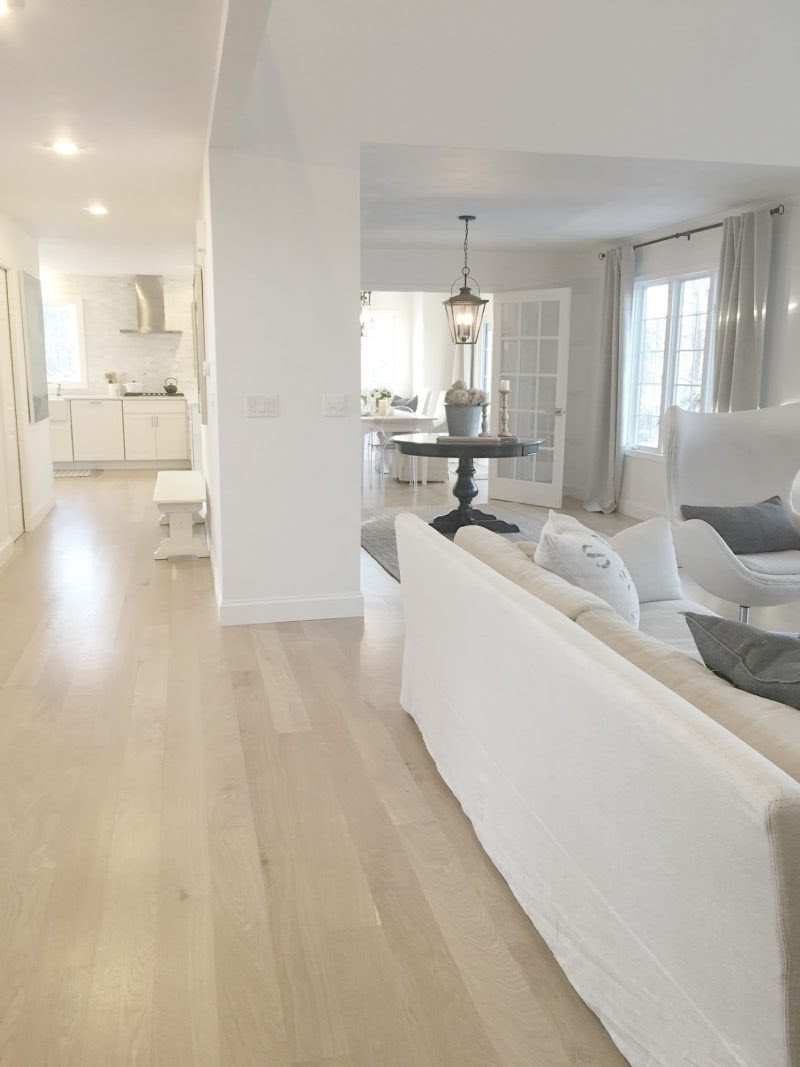
Photo: Hello Lovely Studio
Michele Ranard loves all things home yet still cannot believe she agreed to two DIY home renovations in the same year! She is a professional writer, an artist, and author of the decor blog Hello Lovely Studio.
