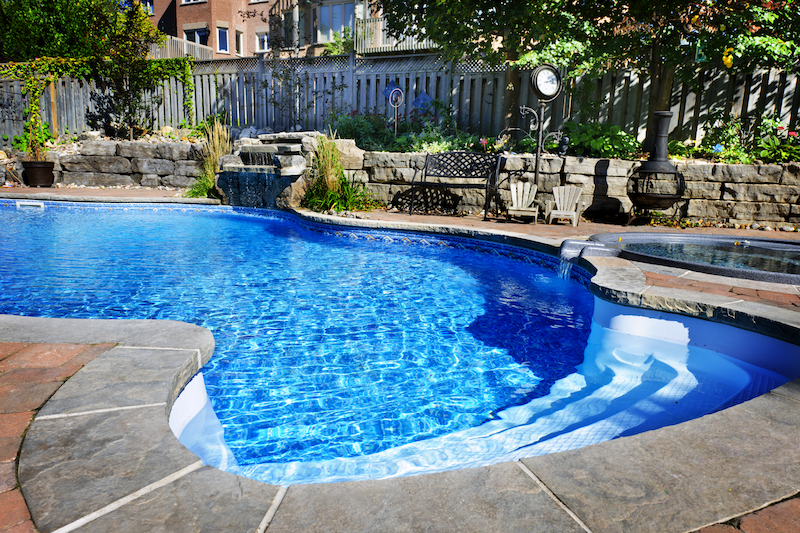
Installing an in-ground pool on your property can be chaotic. Your backyard gets transformed into a construction site for 6-10 weeks and it will be filled with multiple trades coming in and out. It is important to connect with your pro and communicate throughout the project to ensure that you are prepared for everything. Read on to learn about the process of installing an in-ground pool.
Permit
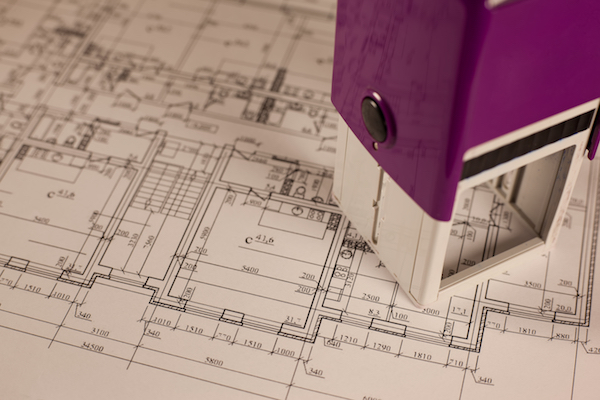
After you hire a pro to install your in-ground pool, the first thing on the check-list is obtaining a permit for the project. If agreed upon beforehand, it is common for the pro to obtain a permit for you. However, if you need to obtain the permit yourself, be sure to abide by the permit requirements for your specific location.
The permit process can take more time than expected, so planning ahead and getting this step completed is important, otherwise, your project could be delayed. If you need help obtaining a permit, check out how building permits work and when you need them.
Layout
The next step before any ground is broken is deciding on the layout of your pool. If you have decided to go with a pre-made pool, then this step is not necessary as the pro will already have the measurements of your pool, but the location of it will still need to be decided.
If you are not getting a pre-made pool, then deciding on the shape, size, and location of the pool must be done prior to starting any work. The location may be dependent upon the ground below. For example, if there are any obstructions preventing the crew from digging, you will have to choose a new location. Consulting with a pool pro will help you make the right decision for your space.
Excavation
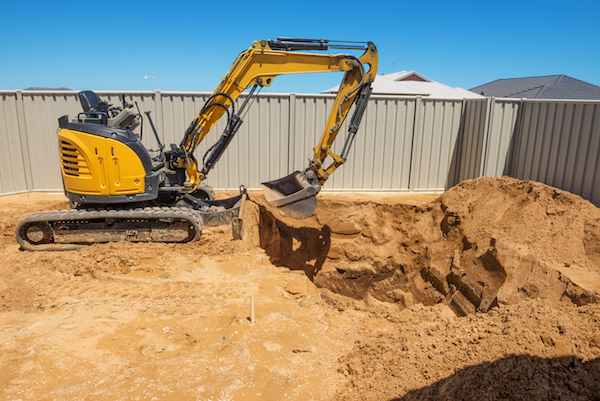
Now that all the plans are written up and the permits are obtained, construction may begin. To start, the crew will break ground according to the engineered plans. This part of the project will include heavy equipment and in order to get the machines into your backyard, they may need to move certain structures as well as damage some garden beds or other landscaping attributes. If this is the case, the crew will repair the damages if stated in the contract, but if not, then be prepared to hire a landscaper to fix the work. Once the excavation is complete your pool walls will be put up, or your pool will be placed in the ground.
Plumbing
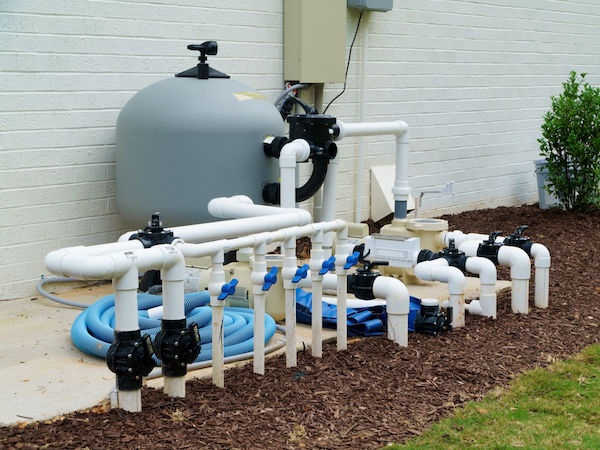
After excavation, the plumbing for the pool must be completed prior to anything else. This not only ensures that all the plumbing is correct before closing off the openings but also allows the plumbing to remain hidden. Most commonly, the plumbing for a pool is located around the pool, between the pool wall and the dirt. Once all of the plumbing is tested and shows no signs of any leaks, the open trenches are then filled lightly and strategically as to not put any pressure on the pipes.
Electric and Gas
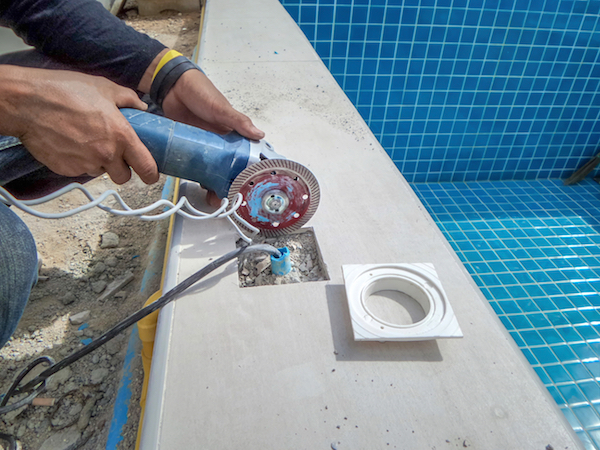
The electric and gas for your pool will be completed by a master electrician. They will run the conduits from the main electrical box, or main gas meter on your house to all locations specified by the design plans. Once the lines are run, you will have to have a city inspection prior to any other work being completed.
Depending on the type of pool that you are installing, the next steps are going to vary. For example, if you are installing a concrete pool they will finish covering the surface with concrete and smooth it out. If you are installing a vinyl pool, they will proceed to install the liner and ensure that it is all smooth. Lastly, if you are installing a fibreglass pool, you are all set. Additionally, any design features, such as diving boards, ladders, or waterfalls will be installed at this point.
Extras
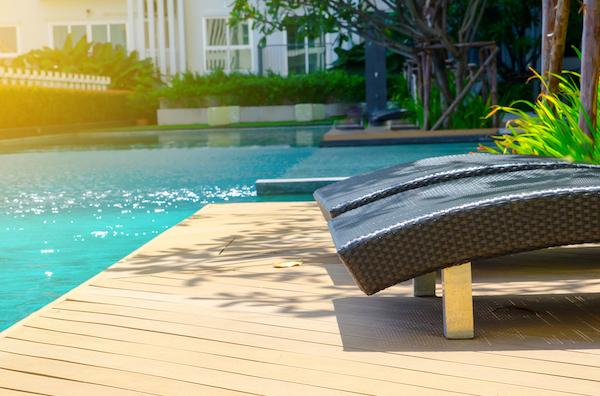
Features such as decking, outdoor living, and other landscaping needs, if agreed upon in the contract, will be completed at this point. These steps are completed prior to finishing the pool so that no unwanted debris makes its way into the pool. Depending on what features you are adding, it may add to the total construction time.
Clean Up, Filling, and Start-Up
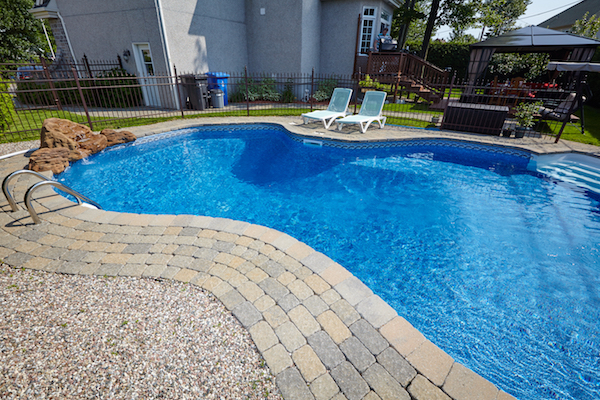
After all of the work is completed and the homeowner, inspector, and pro are happy with everything, the crew will clean up the worksite. Once everything is cleaned and in order again, they will fill the pool and start it up for you. Take a look at the necessary pool equipment and associated costs to make sure you have everything you need to keep your pool running. A crew member will run you through how to use all equipment and how to maintain the pool to keep it in use for your family.
Final Inspection
Upon completion of the pool, another city inspection must be completed. This inspection is to ensure that all codes are met with in regards to the pool and other features that were added. Also during this time, your hired pro will check back in to make sure that everything is still running smoothly.
While the overall process is similar between the three types of in-ground pools, the detailed steps for the process of installing an in-ground pool are going to be dependent on which type of pool you choose to install. For example, a concrete pool, which is constructed on-site, will take longer than a fibreglass pool, which is constructed in a factory. Your hired pro should take you through all the detailed steps associated with your specific project.
Understanding the basic process of installation will prepare you for what to expect during this project. Constant communication between yourself and a pro will help to prevent any hiccups and move the process along smoothly. When you’re ready to get started on your pool project, simply click on the banner below. Enter your project details and we’ll send them out to verified pool pros in your area. You’ll be enjoying your newly installed in-ground pool in no time!
