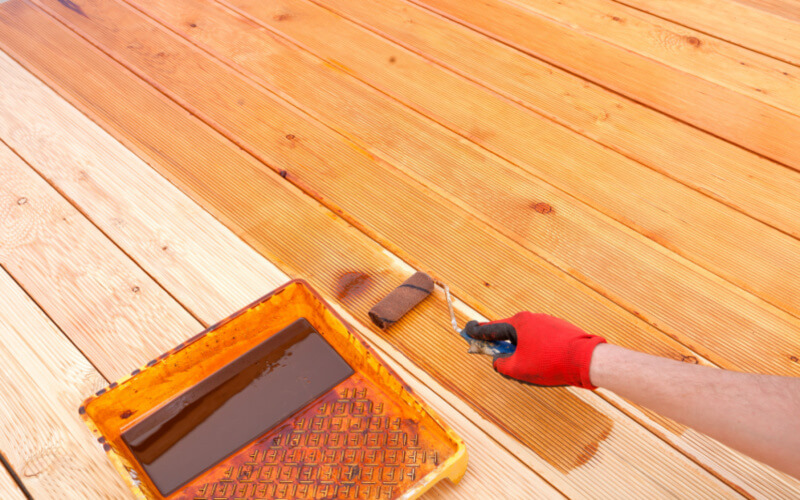
Your deck is a great place to spend quality time during the warmer months. If you’ve noticed that it’s starting to look a little worn, or you recently installed your deck, you can stain it to bring it back to life and protect it from deterioration. Learn how to stain a deck in just 5 steps below.
Step 1 – Inspect & Repair
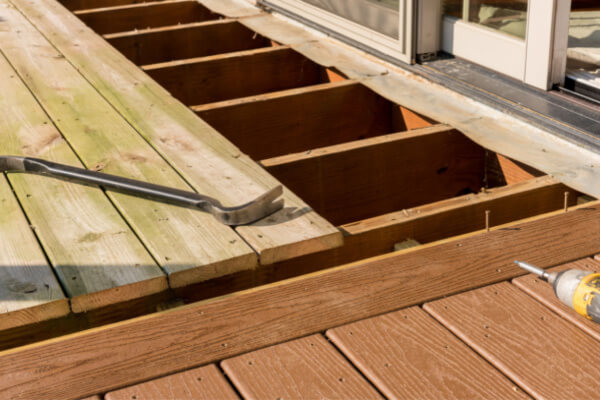
Before you do anything, you should first inspect your deck. You can perform a walkthrough, looking for any loose or cracked boards, and missing or loose nails sticking out. If you are able to, repair any imperfections you find. If you aren’t equipped with the proper tools to repair your deck, or if it needs to be replaced, get connected with a Pro here.
Step 2 – Clean

Before staining your deck, it’s very important to prep your deck for staining. You’ll want to ensure that all surfaces are clear of any debris. For a thorough clean, you can start with sweeping or brushing any dirt, leaves, and other debris that has built up over time. Next, scrub or brush your deck with a deck-cleaning surface product. You can either rinse your deck with a high-pressure hose or for best cleaning results, power wash your deck. If you don’t have a power washer, you can check out your local equipment rental shops or hire a Pro to do it for you. If you have previously stained or painted your deck, before you proceed you may want to ask a Pro how to remove stains from a deck for best results. Cleaning your deck before staining will ensure that your stain will properly soak into it and provide the best results.
Step 3 – Choose your Stain
With a variety of stains available for your deck, it’s important to choose the right one. Depending on the material and use of your deck, one stain will be better than the other. To ensure you are making the best choice, ask for advice from a local Pro today.
Step 4 – Prep & Stain

Once you’ve selected the stain for your deck, it’s time to prep and stain! Preparation is important to ensure that the stain is only applied where you want it to be. Prep can include, but is not limited to, applying painter’s tape alongside your house, around any railings, and other fixtures that you don’t want to stain. Additionally, if you have plants around or near your deck, you may want to cover them to ensure that no stain gets splattered on them.
Once you’re all prepped you can begin to stain. Apply the stain using a roller or a brush ensuring that you are applying an even coat. Be sure to check for any drips or puddles left behind and brush them up before moving on to the next area. It’s best if you plan to stain your deck when there is no rain in the weather forecast. Additionally, you should try your best to avoid staining in direct sunlight. If you have to plan your sections and route with the sunlight’s movement during the day, you can do so.
Step 5 – Touch-Ups & Dry
After you stain the entire deck it’s best to do a quick walkthrough to ensure that no spots were missed. If you missed any spots, be sure to touch them up. After you’ve completed your entire deck and ensured everything is covered evenly, allow 1-2 days for the stain to dry for optimal results.

The concept of staining your deck seems quite simple. I mean, after all, it’s been laid out in 5 easy steps. Before you get started it’s important to note that this is a time-consuming process and can be quite labour-intensive. If you try to rush the job or don’t prep properly or buy the right stain the job can turn out horrendous. But don’t worry, that’s why HomeStars is here to help. You can get connected to local Pros in your area to discuss the scope of your job and have them do all the work for you. If you’re interested in hiring a Pro to stain your deck, head to HomeStars.com right away!
