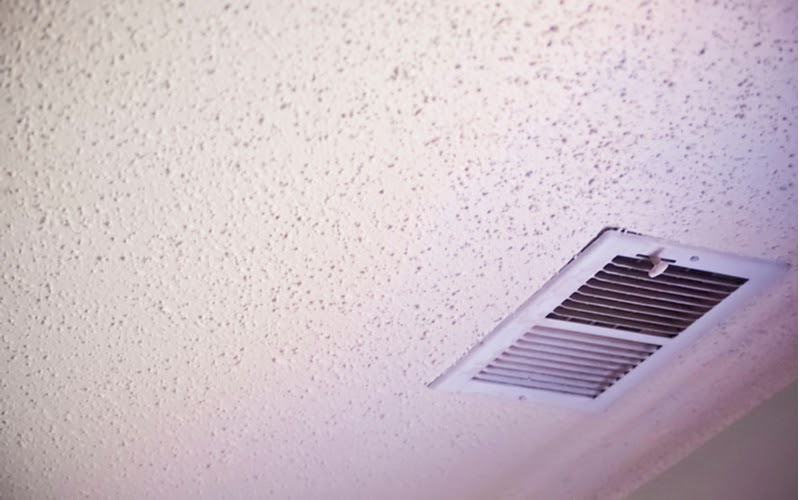
Popcorn ceilings, which were once a popular finish for homeowners, are now considered to be outdated. In fact, many homeowners wonder what the point of their popcorn ceiling is. If you’re tired of gazing up at your unattractive popcorn ceiling, take a look at alternatives to replace it with here. Once you’ve decided on an alternative, it’s time to remove that old ceiling covering. Read on to learn more about the process and how to remove popcorn ceilings from your home.
Test for Asbestos
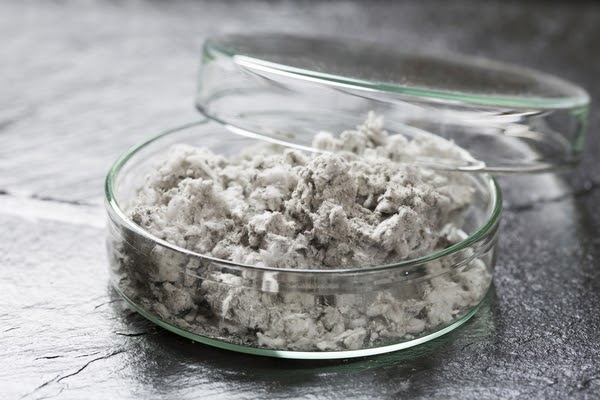
Other than being an eyesore, popcorn ceilings can potentially be hazardous in your home, especially if they were installed prior to the mid ‘80s, as they may contain asbestos. Asbestos will only become hazardous if you disturb it. This is why you should test your ceilings for asbestos prior to removing so you know the potential danger and can prep accordingly. There are at-home test kits available, or you may hire a pro to test it for you. If there is asbestos, be sure to have a pro remove your popcorn ceilings.
Equipment
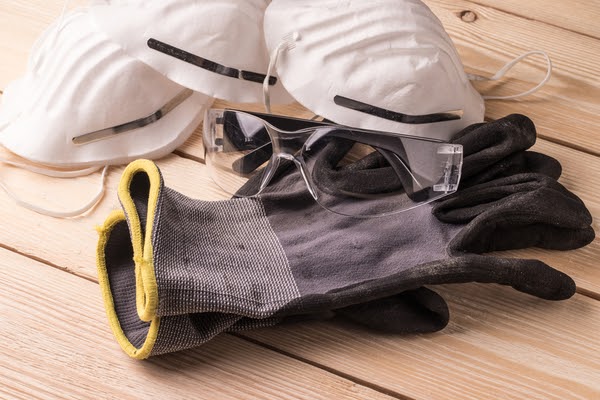
After inspecting your popcorn ceiling, you should know what is going to be required to remove it. Remember if there is asbestos, call a pro for the job. If not, then you can proceed. The tools required for removal are: spray bottle, wide putty knife, drop cloths or plastic sheeting, painters tape, ladder, safety goggles and a mask. If your popcorn ceiling is painted, water and soap will not help to break it down. In this case you will have to apply a chemical compound to help loosen up the paint.
Room Prep
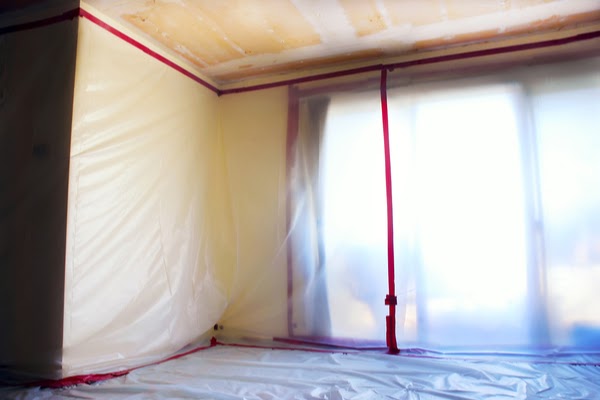
Removing popcorn ceilings is a very messy job. In order to protect your floors and other furniture in the room, be sure to lay down drop cloths or plastic sheeting and cover any furniture. The better your prep the space the less mess or damage you will have to deal with later. An additional benefit to hiring a professional crew to remove your popcorn ceiling is that they will take care of the room prep for you.
Spray & Scrape
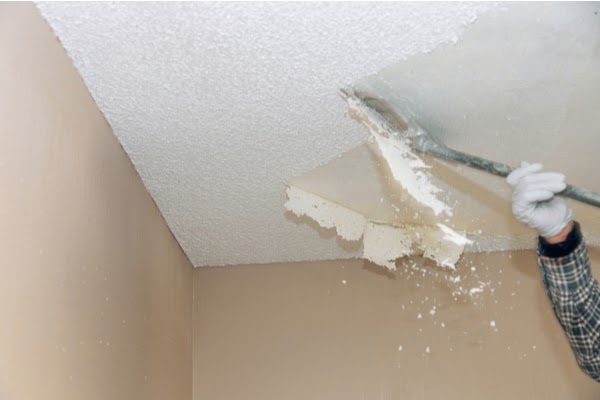
Once your room is prepped it’s time to begin. It is suggested that you work on small sections at a time. Begin by spraying a small section of the ceiling with your water and soap mixture and let stand for about 20 minutes to loosen up the particles. It’s important that you do not over-spray the ceiling. If you apply too much water, it can damage the drywall service underneath causing a lot of issues. Once you let the water stand you can begin gently scraping off the popcorn ceiling with your putty knife. Continue the same process for each section of your ceiling. Tip: be gentle with your putty knife, if not you may put holes in your ceilings which will require further repair.
Touch Up, Prime, & Paint
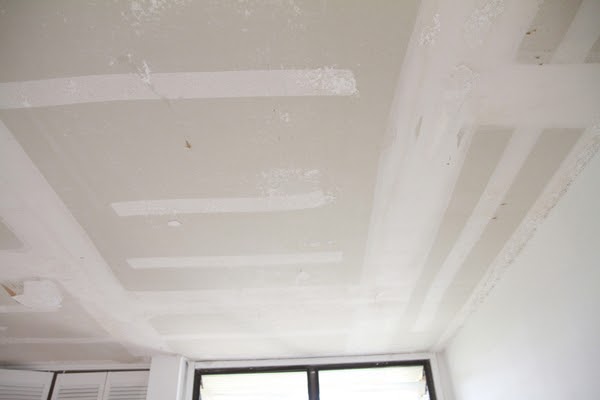
Once you have completed scraping the entire surface you should look for any small or hard to reach areas and ensure everything is off. Then, if needed, you should repair any problems, such as small holes or joint screws showing. By applying a drywall compound and smoothing it out, then sanding.
Once dry, you may prime and paint the surface if that’s what you want. If you are thinking about transforming your ceilings with one of these ideas, connect with a pro to help you out.
Clean Up

Last but not least, remove all drop cloths and plastic sheets and dispose of any debris. Removing popcorn ceilings can be very messy and dusty so be sure to give the room a thorough clean after.
If you’re tired of your outdated popcorn ceilings, then add this DIY project to your to-do list. It is a messy job so if you’re not up for it or don’t have the proper equipment, HomeStars can connect you with a pro to help you out. At the end of the day, you’ll have smooth ceilings you won’t mind looking up at!
