Picture this: You’re staring at your freshly painted walls, admiring your colour choice, when all of a sudden, you see it — a small crack. You take a step closer to discover your newly painted walls are peeling! The good news is that by catching peeling paint fast, you can fix it without having to repaint your whole wall. Read on to learn what causes cracks and how to fix peeling paint.
What Causes Paint to Peel?

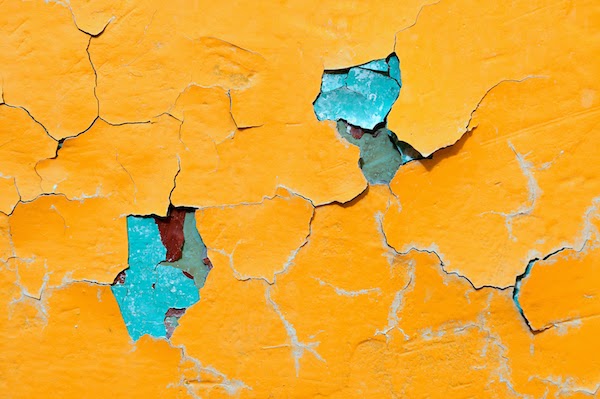
There are a few key reasons why paint peels. Mainly not prepping the wall correctly and the application of the paint itself can be to blame. More often than not, your paint will peel if the wall hasn’t been cleaned, prepped or primed properly. Another mistake homeowners make is not waiting long enough between coats for the paint to dry. This can lead to severe cracking called “alligatoring” because of the resemblance to an alligator’s skin.
Another thing that can cause your paint to peel is using inexpensive or low-quality paint. When it comes to paint, you get what you pay for. Inexpensive paint is often less adhesive so it’s easier to peel off your walls.
Keep in mind that you may need to use different types of paints in different rooms. If you’re painting a bathroom, you want to ensure you use a paint that can withstand constant moisture. Moisture is a big factor in causing the paint to peel, so make sure you consider this when purchasing your paint.
How To Fix Peeling Paint

The earlier you catch peeling paint, the better. This way you may only have a patch job rather than having to repaint the whole wall.
Before you begin chipping away, you need to make sure there isn’t an external element causing your paint to peel. For example, a leaking roof could trickle down and cause the paint in your hallway to peel. An unresolved plumbing issue could also contribute to peeling paint. Check for these issues first to ensure you don’t have a larger issue going on.
Step 1: Prepare the Area
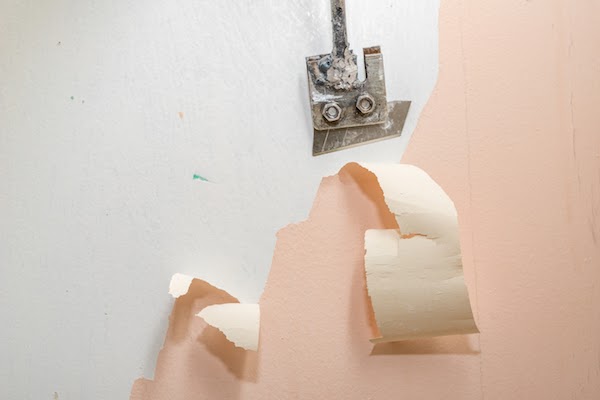
If you’re going to take on this project yourself, be sure to prepare your workspace. Put down a drop cloth and wear goggles and a mask to protect yourself from flying paint chips. Take your tools, such as a putty knife or paint scraper, and carefully remove the peeling and chipped paint bits.
Step 2: Peel and Patch
You’ll need to purchase a quick-setting patching compound to complete this project. This will help to patch any cracks or holes. Once you have it, apply a thin, even layer to the exposed wall. Allow to dry overnight before moving on to the next step.
Step 3: Sand and Clean
Once the area is dry, use a very fine-grit sandpaper to gently sand the area. Run your fingers over the wall to make sure it feels smooth and blends in with the rest of the wall. Next, take a damp sponge to clean the area. Wipe the water off with a dry cloth and allow it to dry overnight.
Step 4: Prime and Paint
Make sure you properly prime the area so the paint sticks this time. Think about the room the paint is in and invest in the right primer for the space. Once your primer is dry you can move on to the last step, painting. If you still have leftover paint from the first time you painted, be sure to use that. If you don’t have any leftover paint, see if you can purchase a sample or tester can of the paint. This way you won’t have to pay for an entire can of paint for one small area.
By following these steps you should be able to easily patch your peeling paint. Keep in mind that if you did not properly prepare the wall before painting, it’s likely more of your paint will peel. This is why we recommend investing in a professional painting company. They will put in the extra work required because it is their job to do so. The average person can do an okay job painting a simple room, but it’s likely they’ll cut corners to save time. Trust us when we say you will save time, money and your sanity by hiring a pro to do it right the first time.
