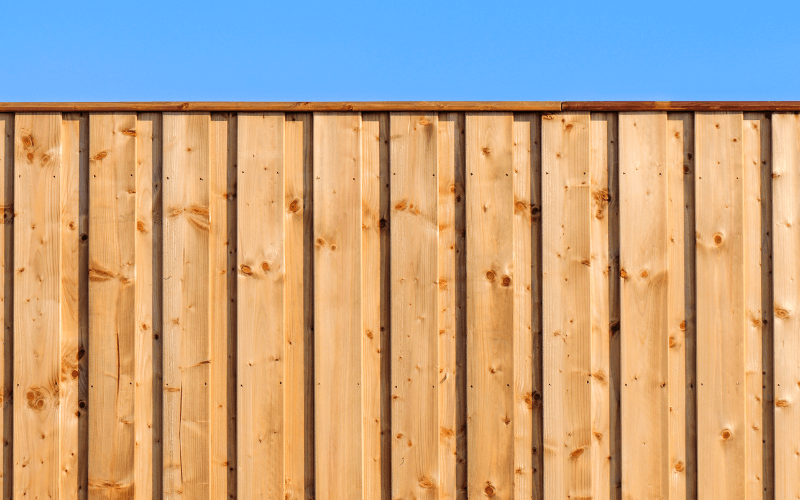
Warmer weather is here – let’s learn how to build a fence! The harsh winter weather can impact a lot of your home’s features, one of them being your fence. If you find yourself in this situation, read on to learn about how to build a fence.
When it comes to building, or repairing your fence you can definitely tackle this project DIY style. If you choose to, it’s important to ensure that you have the proper tools, knowledge, and enthusiasm to get the job done. If you’re not up for the challenge, do not worry. HomeStars can connect you with a local Pro to help you build your new fence, or repair your old one.
Plan the Project
The first step in building a new fence is to plan. Just with any other home improvement project, it is best to be prepared before you start any work. You should determine if you can repair your fence, rather than replacing it. If you need to replace it, think carefully about what materials, what style you are interested in, and how much material you are going to need. This can be determined by the budget that you have. You can read more about different fence materials here and also material costs here. For more information about the cost of installing a fence, check out the HomeStars Cost Guide.
Consider your neighbours when planning for your new fence. If you have close neighbours, construction could possibly impact their property. To learn more about who is responsible for a fence between neighbouring yards, click here.
Lastly, before starting building your fence, it’s important to check if you need to obtain any permits to begin working. Check with your local city for building regulations or consult a Professional to handle the permits on your behalf. You can learn more about how building permits work and when you need one here.
Break Ground
Once you have all your plans determined, materials selected and purchased, and have discussed the construction with your neighbours, and obtained your permit, you can begin to break ground. As per your plans, ensure that you are digging your post holes in the exact spots as needed. Make sure that your holes are deep enough and wide enough. The specifics, depending on your fence height and material should be determined in your plans.
How deep should a fence post be?
Typically, the post holes should be from ⅓ – ½ the post height above ground. Always be sure to check with your local utility company that you are not going to be interfering with any water, gas, or power lines.
Start the Build
With your post holes dug, you can now start to install your fence. Begin by placing your posts into the holes. While it seems like a simple task, there is more to it than simply placing the post in the hole, of course. You’ll need to pour some gravel in the bottom of each hole to ensure proper drainage. Once the post is in position, pour in your concrete and be sure to set a slope away from the post! Next, let the concrete set and dry.
Put Everything Together
With your posts in place, you can begin to attach the rest of the fence together. Depending on the material and design that you selected, the method is going to vary. However, using a leveling string will help in all cases to keep the fence in line all the way around. Continue this process until all rails and panels are secure in place. Don’t forget to leave spaces for any gates!
Treat the Fence
If you’ve selected a wooden material for your fence, then this step is important. If you’ve purchased pre-treated wood, or are not building a wooden fence, you can skip this step.
Treating your fence is important to extend its lifespan. Without proper treatment, wood can become rotten and deteriorate fairly fast, especially when exposed to Canadian weather. Select a stain or paint in your colour of choice that is meant for outdoor weather protection. Ensure that you apply a healthy coat and don’t miss any spots. Additionally, you should apply a wood preservative to the base of your posts to help prevent deterioration from fungus, molds, and insects.
Finishing Touches
Once your fence is built, stained or coloured and protected you can apply the finishing touches such as any decorative post caps, handles, and locks.
Don’t Forget About Fence Maintenance
Without proper maintenance, you could end up having to replace your fence sooner than anticipated. Be sure to re-stain your fence every 2-3 years (or more depending on your local climate). Look out for any repairs needed and get them corrected ASAP. Leaving any damage can cause the overall fence to be weakened, ultimately leading to a costly repair or replacement. Check out these wood fence repairs to consider and keep an eye on your fence throughout the year.
DIY jobs are fun! But if you want to leave this project to the Pros, head to HomeStars.com to get connected with a local, verified Pro. Be sure to check out their HomeStars profile to read through past reviews and ratings, and browse photos of past jobs before hiring. For more job inspiration, check out the HomeStars Blog.
