A patio or deck is the perfect place to enjoy Canada’s warmer seasons. But during the colder months, our patios and decks receive the brunt of these harsh weather conditions. Over time, a deck’s surface begins to erode, causing the fibers to soften, splinter, and stain. Thankfully, with regular deck cleaning and staining, you can increase the lifespan of your deck and have it look brand new. Deck building experts suggest that once spring rolls around, it’s time to head back outside for a good deck wash! Here are the best tips for maintaining and cleaning your patio and deck.
How to Inspect Your Deck?
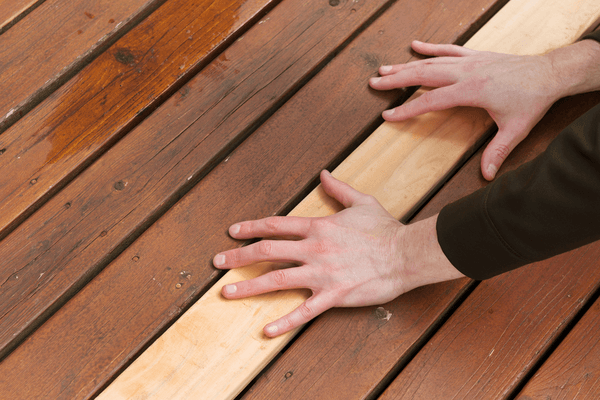
There is an art to cleaning a patio and deck. So just like an artist, you’ll want to start with a blank canvas. Remove all outdoor patio furniture, plants, and your BBQ. Next, you’ll want to take a good look at the surface to understand what’s needed to refresh your space. If you’re wondering whether you should repair or replace your patio deck, be sure to connect with a pro for an expert opinion.
If your deck needs replacing, here are the average cost of deck installations across cities in Canada below:
| City | Average | Minimum | Maximum |
| Calgary | $11,533 | $100 | $50,000 |
| Edmonton | $12,474 | $1,000 | $50,000 |
| Hamilton | $13,836 | $2,500 | $45,000 |
| Oshawa | $11,450 | $500 | $50,000 |
| Ottawa | $7,965 | $350 | $28,000 |
| Toronto | $13,565 | $135 | $50,000 |
| Vancouver | $6,456 | $300 | $30,000 |
*Costs based on 1,264 verified reviews by Canadian homeowners as of March 2022
If your deck is free of major cracks, raised nails, or rotting wood, you can bring out a broom or a leaf blower to remove any leaves and debris from the previous season. Once removed, you’ll have your fresh slate to work with.
How to Pressure Wash Your Deck
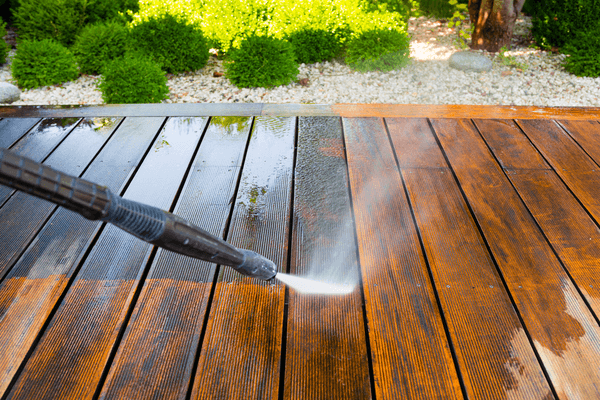
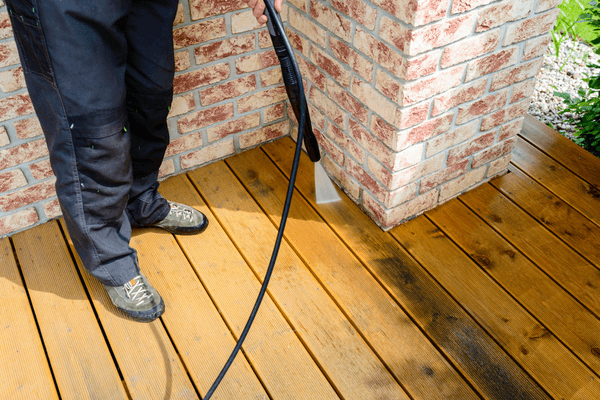
A pressure washer is an extremely handy machine to have around, however, not everyone has one at home. You can either rent one from your local home improvement shop or hire a pro who owns the machine for this particular task. If you opt to take on the washing yourself, be sure to closely follow these next steps. Although a pressure wash for your deck may make your wood sparkle, if not used properly, it can cause serious damage.
Step 1: Pick a power washing setting based on your patio or deck material. For softer woods, you will need to use a lower setting between 500 to 600 psi (per square inch). For dense, harder woods, you will want to increase your setting to 1000+ psi. Please refer to the machine manual for more specific settings.
Step 2: Add a tip with a 40 to 60-degree angle to your pressure washer. A tip will shape the pressure and provide for more even water distribution, especially when cleaning grout out of paving slabs or tough mud stains from patio pavers.
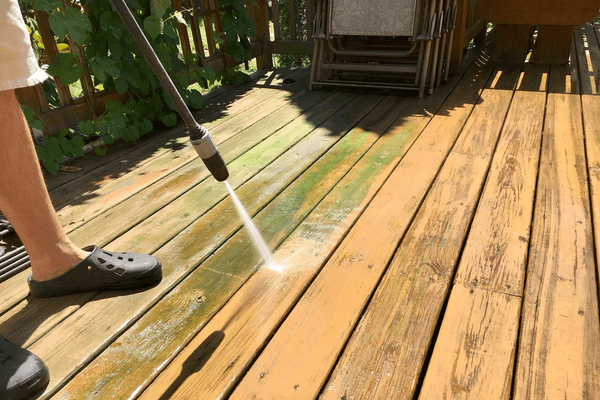
Step 3: Stand a minimum of 3 feet away from the surface of your patio or deck. If the pressure washer is too close it may cause the wood to warp or splinter.
Step 4: Take time to get comfortable with the pressure washer. Start with a low setting, regardless of wood type, and work your way up.
Pro Tip: Don’t forget to evenly distribute the pressure. If you place too much pressure on one spot, you may cause damage to the patio or deck surface.
How to Brighten Your Deck?
Canadian winters are cold, wet, and damp. Because of this, it’s likely your deck has some staining. To have your deck looking brand new before summer, hire a local painter to brighten up your space with a chemical stripper. A pro can help you pick the best deck cleaner for the type of wood you have. If a chemical stripper isn’t your style, you can always opt for a homemade deck cleaner made from baking soda, vinegar, and dish soap. Whichever type of deck cleaner you move forward with, be sure to follow the instructions that outline accurate proportions and how to properly mix the solution. Once done, add the mixture to your pressure washer and follow steps 1 to 4 mentioned above!
How to Sand Your Deck?
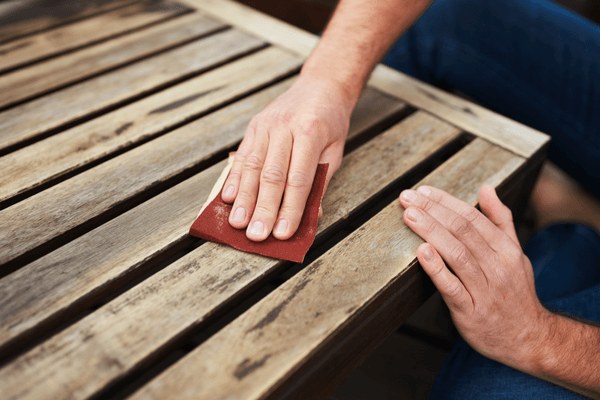
If carefully washed, there should be no damage to the surface of your patio or deck. But despite this, you may still notice a few raised fibers. No need to worry, a light sanding by a deck expert will have your deck looking smooth again. One would assume a fine sandpaper grit would be best for the job, but in reality, it’s the opposite. Too fine of sandpaper will clog the pores of your wood, which doesn’t allow the brightening mixture to absorb completely or evenly. When your wood is fully dry, we recommend using 60 to 80 grit sandpaper and start sanding in light circles. But for best results consult your deck expert.
How to Seal Your Deck
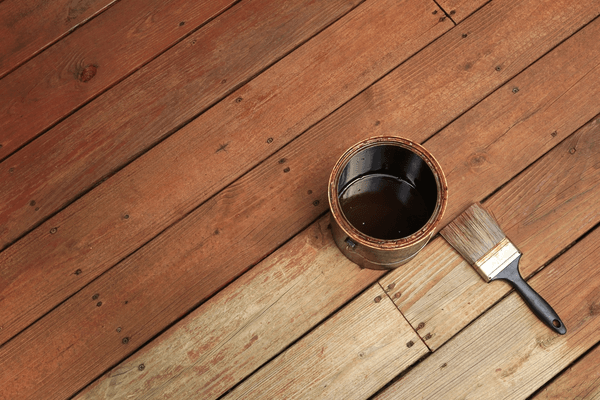
After a wash and sanding, you’ll want to protect your deck’s wood with a seal. Just as a pair of shades and sunscreen can protect us from the sun, sealing your deck will protect your deck from harsh UV rays throughout the spring and summer months. A local deck pro can guide you to the best type of sealers for your type of wood. Once you’ve purchased your sealant from a local home improvement shop, follow these steps:
Step 1: Check the weather app! Pencil in your project for a day with clear skies and sun. If you see rain clouds, it’s best to reschedule.
Step 2: Apply thin layers of the sealant to your deck. Use a roller for large surface areas of wood and a brush to catch the trickier areas such as the railings and crevasses.
Step 3: Apply a minimum of two coats.
Step 4: Let it dry!
Get Your Deck Spring and Summer Ready
With temperatures rising, you’ll find yourself wanting to spend more time on your patio and deck. By following a regular patio and deck cleaning schedule, you’ll have your outdoor space ready for when you need, and want, to use it most. You can follow through with all these steps by yourself or simply hire a verified pro on HomeStars to do all the hard work. Since we’re heading into service professionals’ busy season, be sure to connect with a deck pro who can take ‘deck maintenance’ off your to-do list!

