If you’ve been looking to add a touch of vibrant beauty to your backyard, a flower box planter is the perfect solution. Adding a touch of nature with colourful flowers can transform your outdoor space into a vibrant oasis. In this guide, we’ll walk you through 8 steps to build a flower box planter in your backyard and share some inspiring ideas. However, we encourage you to consider hiring a professional gardener for a seamless setup. Now, let’s get started!
Step 1: Gather the Materials and Tools
Before getting started, gather the necessary materials for your flower box planter. You will need:
- A flower box or planter of your choice (consider options like a flower tower planter, a log flower planter, or a traditional planter box)
- Plant pots or containers of various sizes
- High-quality potting soil
- Your choice of flowers or plants
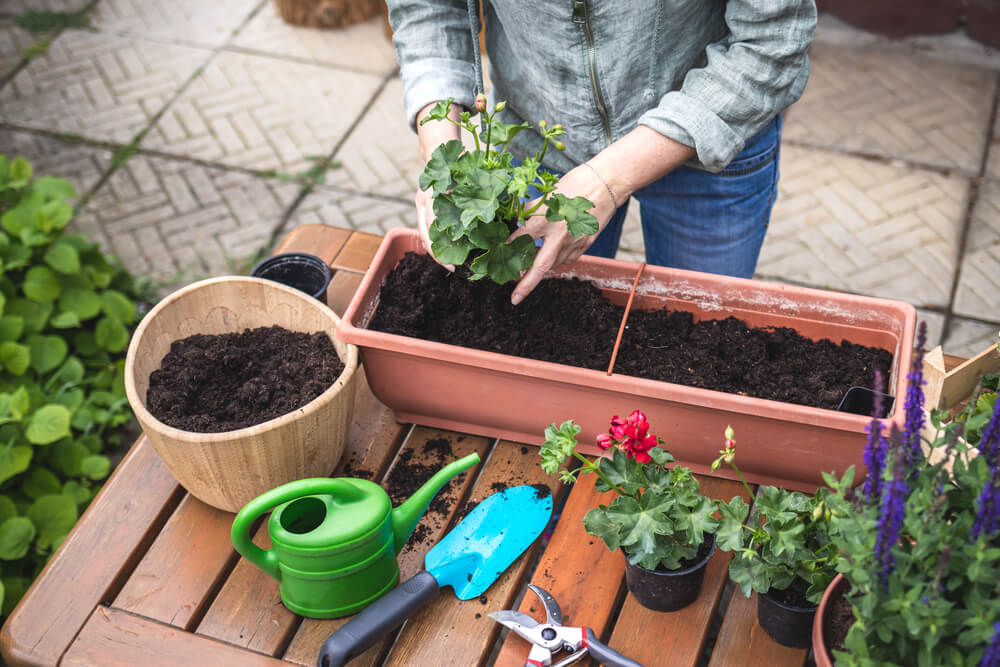
- Gardening tools (trowel, gloves, watering can, saw, drill, nails, etc.)
- Waterproof liner or plastic sheeting
Step 2: Choose the Perfect Location
Selecting the right spot for your flower box planter is crucial. Consider the available space in your backyard and decide on the dimensions for your flower box planter. Ensure that it is large enough to accommodate the roots of your plants while providing adequate drainage. Consider the amount of sunlight your chosen flowers require.
Step 3: Assemble the Flower Box
Measure and cut the boards according to the desired size of your flower box planter. Using screws or nails, attach the ends to the sides to form a rectangular shape. You’ll need two long pieces for the sides and two shorter pieces for the ends. Consider incorporating a flower tower planter or a log flower planter as the centrepiece for a unique design. If you need more clarification about your carpentry skills, feel free to hire a professional to ensure a safe and long-lasting flower box planter.
Step 4: Prepare the Planter Box and Add a Waterproof Liner
Prepare your planter box by ensuring it is clean and debris-free. If needed, line the bottom of the planter with a layer of landscape fabric to prevent soil from escaping. This step will help maintain a tidy garden and protect your lawn or patio. Line the inside of the planter with a waterproof liner or plastic sheeting to prevent water damage to the wood. This step is crucial for extending the lifespan of your flower box planter.
Step 5: Drill Drainage Holes
To ensure proper drainage, drill several small holes along the bottom of the flower box. This allows excess water to escape and prevents root rot.
Now comes the exciting part—selecting the flowers for your planter!
Step 6: Select Suitable Flowers
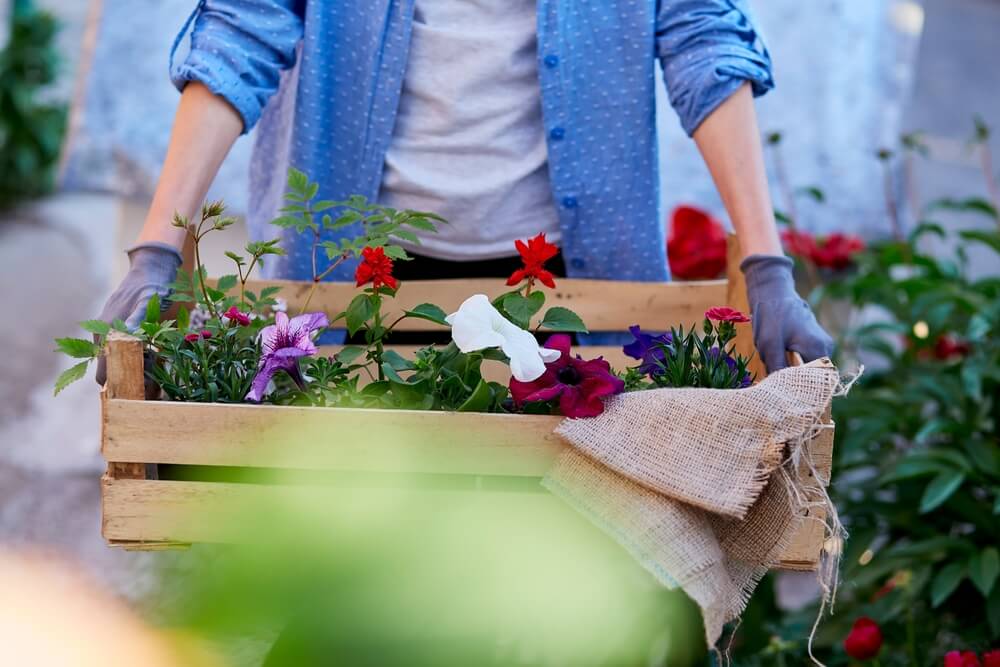
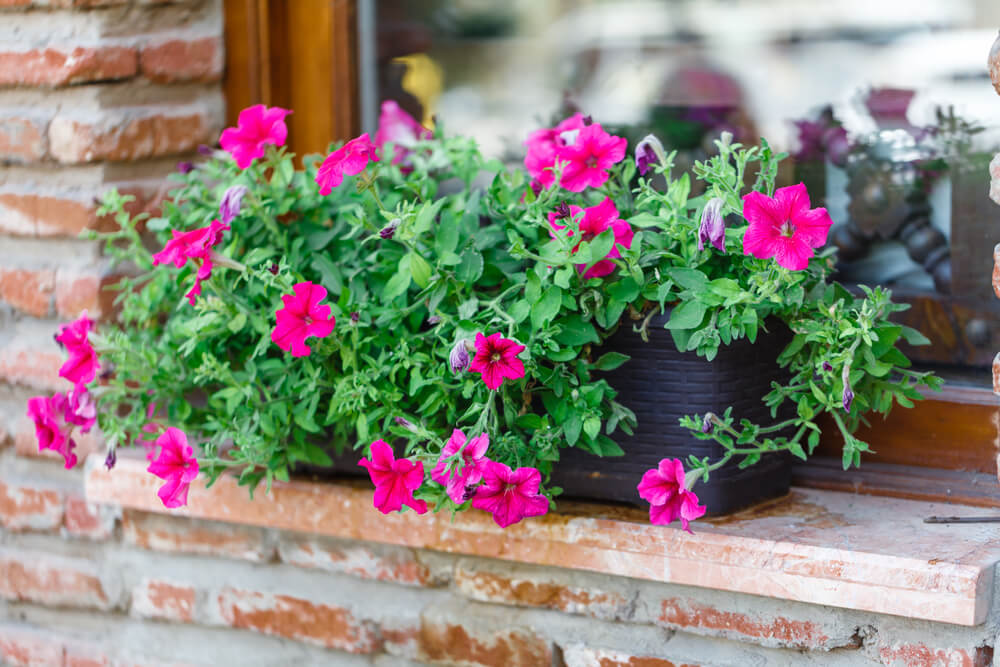
Consider the colours, heights, and textures that will complement your backyard. Choose a mix of flowers, such as marigolds, petunias, begonias, or mini orchids, to create a visually appealing arrangement. For a herb planter, choose fragrant herbs like basil, rosemary, or thyme. Before planting, lay out your chosen flowers in the planter to experiment with different arrangements. Once satisfied with the arrangement, it’s planting time! Remember we need to leave adequate space between the plants for growth.
Step 7: Fill with Potting Soil
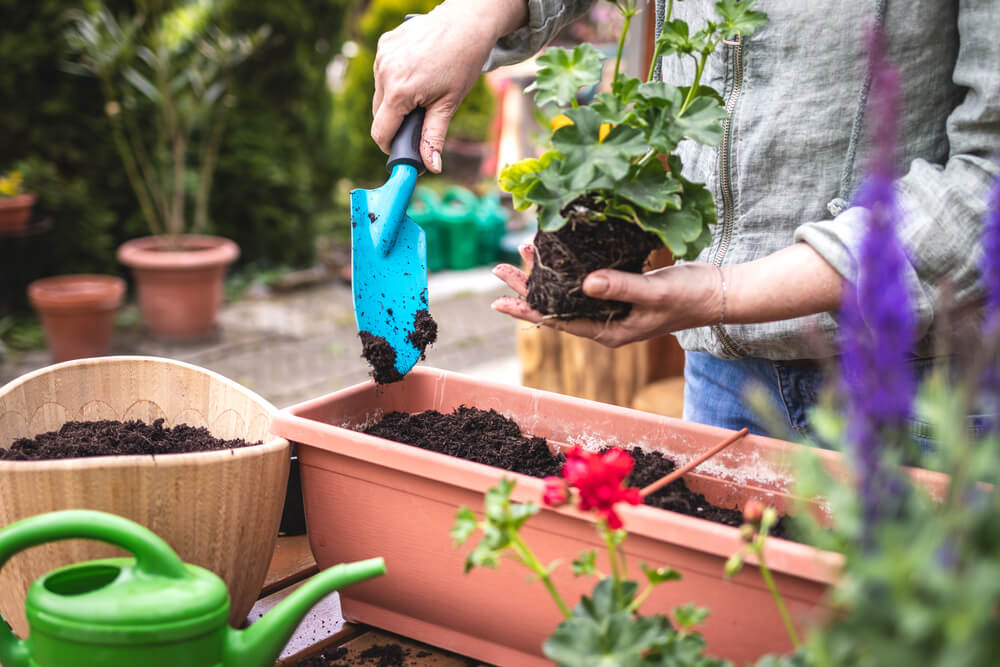
Fill the flower box planter with high-quality potting soil, gently patting it down to provide stability for your flowers. Ensure the ground is evenly distributed, ensuring each plant receives the nutrients needed to thrive. If you’re uncertain about what flowers are good for planters, consult a professional gardener.
Step 8: Maintain and Enjoy
After planting, thoroughly water your flower box planter. Keep in mind that different flowers have varying watering needs. Follow the specific care instructions for each flower type to ensure their health and longevity. Regularly check the moisture level of the soil and adjust accordingly.
Don’t forget to fertilize your plants to promote healthy growth!
Important Note: Consider Hiring a Professional
As you embark on your flower box planter project, remember that professional assistance is always an option. Professional landscapers possess the knowledge and expertise to create stunning flower arrangements that align with your vision and can save you time and effort. If you feel overwhelmed or need more time, seeking professional help is an excellent choice.
Congratulations on building your own flower box planter! By following these easy steps, you’ve created a beautiful addition to your backyard that will bring joy for seasons to come. Remember to comment below and share your experiences with fellow homeowners.
Happy gardening!


