Beginning a complete bathroom renovation is an exciting and sometimes overwhelming process. Whether it’s to up your resale value or for your own enjoyment, a new bathroom is always a sound investment in your home. While you can’t wait to see what the final product will look like, there are many steps involved before you get there. Before you can relax in your new soaker tub, you need to know who’s going to install it and when. Luckily, HomeStars has access to experts in the field who know exactly what’s involved in your bathroom renovation.
Expert Opinion is a series where we go straight to the pros for answers. We spoke to Frank Samifanni, a general contractor and owner of Willowtree Construction Company, to find out exactly how long you can expect your project to take and what’s involved in the process.
One thing that will make your bathroom renovation process a lot easier to manage is hiring a general contractor to oversee the whole process. As you will soon learn, there are multiple trades involved in this project who all need to be brought in at different times. A general contractor will not only hire the various contractors needed to complete your project, but they will also oversee the work and ensure it is done to your satisfaction. They are experienced and know how to solve any problems that could happen along the way. Before you start your bathroom renovation, consider hiring a general contractor to help you with the following steps.
Full Bathroom Renovation Timeline
Step 1: Plumber Shuts off Water
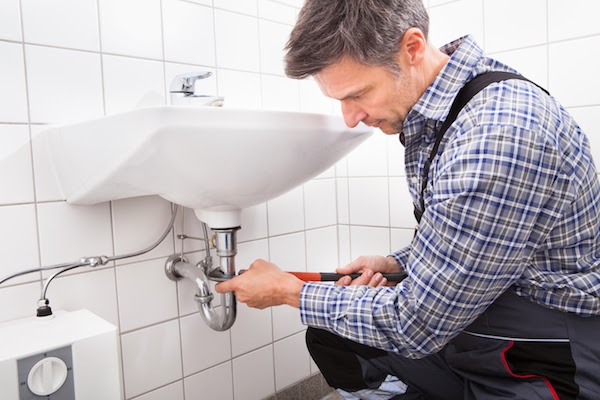
Before you can start working on your new bathroom, you’ll need to demolish your current one. While you may think this is the very first step, it’s not. Before you can start your demolition, you’ll need to first connect with a licensed plumber to disconnect your tub, vanity and toilet.
Often in older homes, there aren’t shut off valves for each fixture, so a plumber will also install shutoff valves to allow you to have water in the rest of your home while the bathroom renovation is in progress. Once that has been taken care of, you can move on to the next step, demolition.
This step will take approximately 1 day for the plumber to disconnect the water and install shutoff valves.
Step 2: Demolition and Disposal
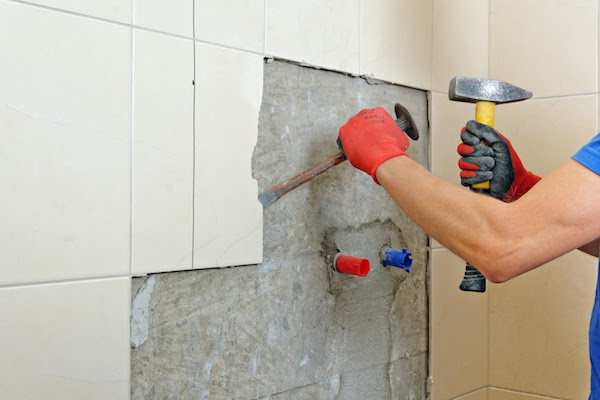
With the water shut off, you’re ready to start demolishing. A demolition crew will be brought in for this portion of the project. It’s more than likely that you will have to remove your walls if you are removing the tub, vanity and tiles. This is because they will be damaged during the removal of tile. Patch ups won’t look good so it’s recommended to install fresh drywall instead. You may be surprised to learn it’s actually cheaper to install fresh drywall as compared to attempting to patch up the plaster.
Pro Tip: If you have any work to your ceiling done, keep in mind you may have to redo the insulation especially if your bathroom is on the second floor or you live in a bungalow.
To efficiently dispose of the materials removed during the demolition, most pros will want to have a dumpster on site. This allows the crew to work efficiently and safely place all the debris in the dumpster. Once the demo is done and everything has been disposed of, you are ready to move on to the next step.
Depending on the size of your bathroom, demolition and disposal can easily take one to two days.
Step 3: Electrical Work
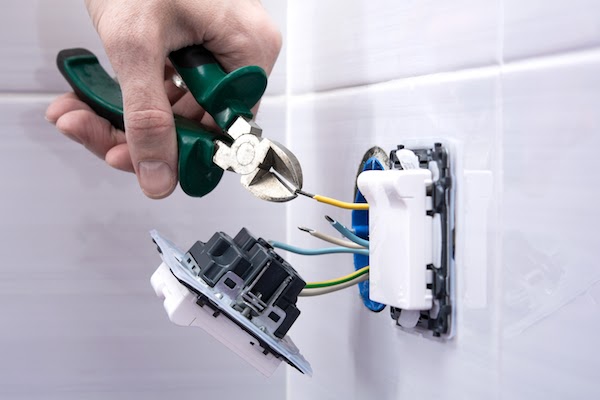
After the demolition, it’s time to take care of any electrical work that needs to be done. Electrical safety codes have been updated over the years, and many older homes have outdated electrical wiring that needs to be updated. A renovation is the perfect time to update it and bring it up to modern code. If your home is a newer build and you’re updating the bathroom, you may wish to have different switches for controlling lights and your fan installed.
Regardless of the amount of work, you will need a licensed electrician to come in and perform any and all electrical work. Electrical work needs to be completed by a licensed electrician and a quality general contractor will ensure that all electrical work is completed by one. Typically, on their first visit, they will install GFI, separate the switches, install pot lights, and the fan.
Frank notes that most older homes do not have a fan installed, which is necessary to have done. If you do not already have a fan installed, it’s possible you will need the help of a roofer to install a vent cap if the fan is going to be vented out the roof. Another benefit of having a general contractor overseeing your project is that they will be able to coordinate with the roofer if you need one.
This portion of the project should take one to two days, again depending on the amount of electrical work needed. If you do end up needing a roofer, this should take an additional day.
Step 4: Plumbing and Framing/Structural Work
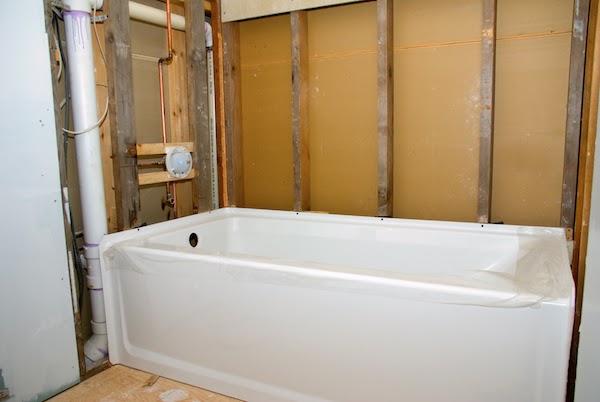
Pro Tip: If you can avoid completely changing the layout of your bathroom you will save considerable time and money. Frank recommends using the existing tub location with the same drainage that is already in place. This will save you the additional costs of moving plumbing which is quite expensive.
When installing your tub, it’s recommended that your plumber also install a new control valve while the wall is open. Installing a control valve now for your faucet tub gives you the peace of mind that you have a new valve in your faucet that should last you for many years to come.
Your bathtub needs to be installed before the drywall or the tiles. If you need a new faucet for your tub, your plumber will need to install a new shower valve with new pipes and rough in new fixtures as needed.
If your bathroom reno requires any structural work, now is the time to do it, before the tub is installed. Examples of these projects include moving walls to create space for closets or drop ceilings over the tub.
If you do not need any structural work done, you should expect your tub installation to take about one day.
Step 5: Drywall and Painting
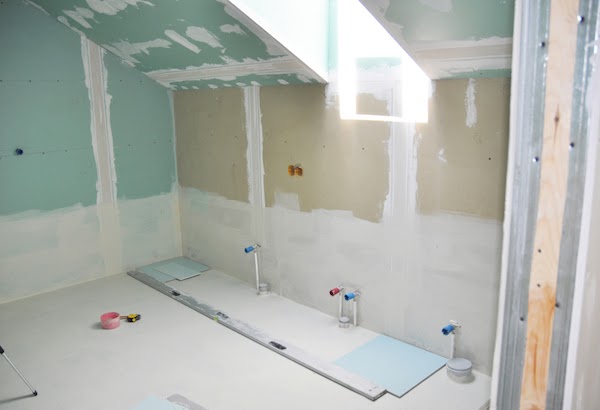
If you’re starting to lose track of all the trades involved, don’t worry. Your general contractor’s job is to manage hiring and scheduling all of these individual trades to ensure your bathroom renovation is completed on time and to your satisfaction.
Next up on the list of trades to hire is a boarder and taper to complete your drywall installation. Once that is done, a tiler will come in to complete the tile installation around the tub and the floor. Frank notes that some homeowners opt to tile the ceiling as well as the tub surround. While this is a good way to make cleaning easier and adds a barrier from moisture, it will cost you more.
Depending on how much tile you have installed, this step will take you about 3 days to complete. 1-2 days for tile setting and an additional day for the grout work to be done.
After both of those steps have been completed, it’s time to bring in a painter to prime and do the first coat of paint on your new drywall. They will be back to complete the process after a couple other pros finish their work first. It is important to have the drywall primed and painted before installing fixtures, such as your vanity, to ensure that your drywall is sealed as this helps prevent mold in a high humidity environment.
This step will take several days to complete as it requires dry time in between each task. Boarding will take about one day to complete. Taping could take up to 3 trips and 3 coats to complete. In total, completing the drywall can take up to four days.
Step 6: Final Plumber Visit and Carpentry
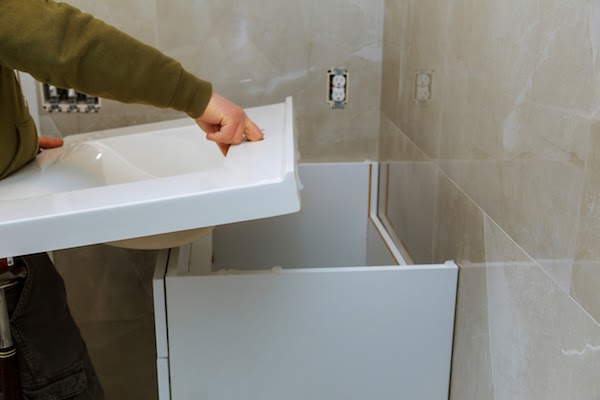
Once the drywall is painted, a finishing carpenter will install your new vanity. Your plumber will return to install the toilet and faucets. This should take approximately one day to complete.
With everything installed, the carpenter will then install the trim and baseboards. If needed, they will also install a new bathroom door and take care of the door jamb and casing. This portion of the project should take one day to complete as well.
Step 7: Finishing Touches
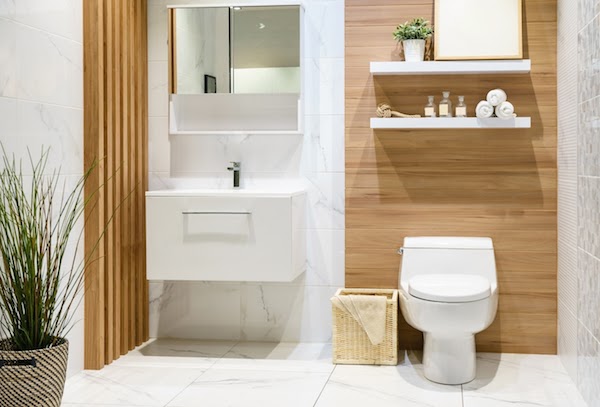
At this point, your bathroom renovation is almost complete! The last steps are putting on the finishing touches. Your painter will return to complete the painting on all your walls, ceiling and trim work. This process will take about a day to complete, depending on the size of your bathroom.
Last but not least, an electrician will come back to install switches, outlets, and pot light trim. Your electrician will also install the fan trim at this point. This final job should take a day to finish.
If all goes smoothly, Frank estimates that your complete bathroom renovation will take approximately 3 weeks to finish. Keep in mind that challenges can come up along the way, but the good news is that having a general contractor on site will ensure that your project is completed no matter what happens. They have seen it all and are experienced in problem-solving.
Frank’s Final Thoughts
When it comes to hiring a general contractor, Frank recommends only hiring one that is licensed with an HST number, has insurance and WSIB. This is to ensure protection for your home and the trades that will be working on it. Frank also recommends asking any general contractors you interview if they have connections to the various licensed trades you will need. Hiring a general contractor who has go-to contractors means there’s already an existing working relationship that should aid in your project being completed to your satisfaction.
Now that you have a better understanding of everything that’s involved in a complete bathroom renovation, you can clearly see why having a general contractor on site is so beneficial. Your general contractor will be able to handle your entire project from start to finish so that you don’t have to. Instead of having to worry about being your own project manager, you will have a dedicated person who will ensure your dream bathroom becomes a reality. When you’re ready to begin your bathroom renovation, be sure to start your search for a general contractor on HomeStars.
Willowtree Construction Company is a General Contracting company and winner of HomeStars Best of Award 2020. Founder Frank Samifanni’s philosophy since starting in 1997 has always been to deliver quality work to his customers. He and his team of trained and licensed tradesmen aim to deliver turn-key projects. Willowtree Construction Company was incorporated in 2007 and undertakes mid-to-large sized projects, including designing and building custom homes, additions and extensions, and complete renovations including kitchen, bathroom and basement.
